 By
By One of the ways of fixing your headset to its operational condition is re-erasing the temporary errors in your system and reconnecting your headset to your device. You are not a hardware repair person because you are well-versed in the process of resetting the Astro A50 headset.
Rather, you are correcting minor software bugs, switching on the audio or the microphone, or tuning performance. It is a fast update mechanism and it causes your headset to act the way it was originally when it was new. No equipment or software or technical skills will be required. Two presses of the button are sufficient and all is well once again.
And, imagine it is. You are at play too, to the end. It is not an easy situation; each note matters. Then ye are disinherited. No footsteps. No communication. Just silence. Something seems to have gone wrong. However, in reality, these problems are caused by some minor bugs in the system for the vast majority. It can be repaired in a few seconds and it does not require one to strain and lose his or her temper to carry out the right technique, which is the Astro A50 reset.
This guide is designed to keep everything simple and practical. No complicated terms. No unnecessary theory. Only simple rules, which can help you to resolve your problems within the shortest time possible, and you do not lose time or money to continue your game or work.
Why you Might Need to Reset Astro A50 Headset
The priciest headsets like the Astro A50 do not possess complete glitches. Connection loss, audio lag, or mic issues can be shown without wearing out with time. These issues are software-based, rather than hardware-based.
You can hear that you are no longer able to hear the game or hear other people in chat. In other scenarios the headset is plugged in and there is no sound produced. Such problems can be frustrating because there seems to be nothing wrong on the surface.
In this case, the information about how to reset the Astro A50 headset will be useful. One can also accomplish clearing of temporary errors by a reset and restoring life to the system rather than attempting to determine where the error has occurred. It is like picking up a frozen phone. All that is needed is the absence of faulty equipment and a system reboot.
Pre-Checklist Before you Reset the Astro A50 Headset
It is always better to test some simple things before a reset. Many users do not follow these steps when there is a slight problem and just reboot the headset. In some cases, it is possible to solve the problem with the help of not resetting and checking only.
Check Power and Charging Status
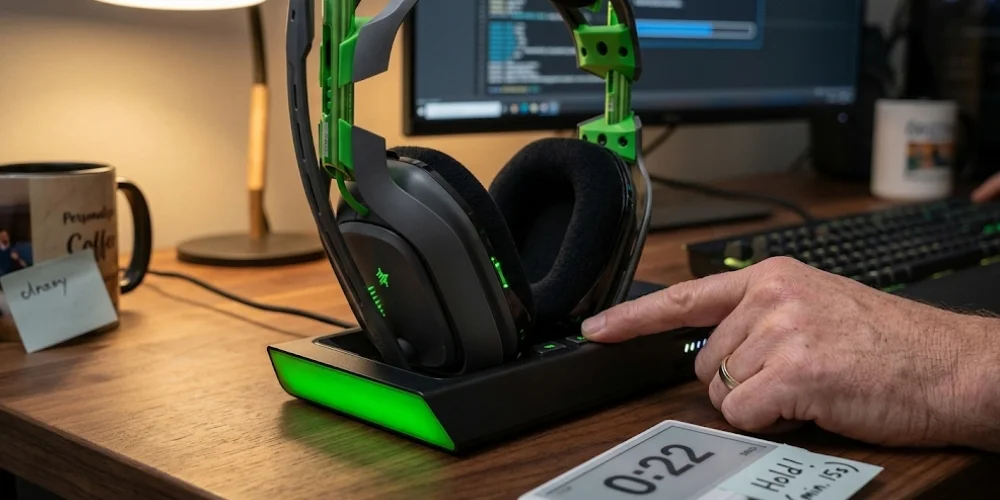
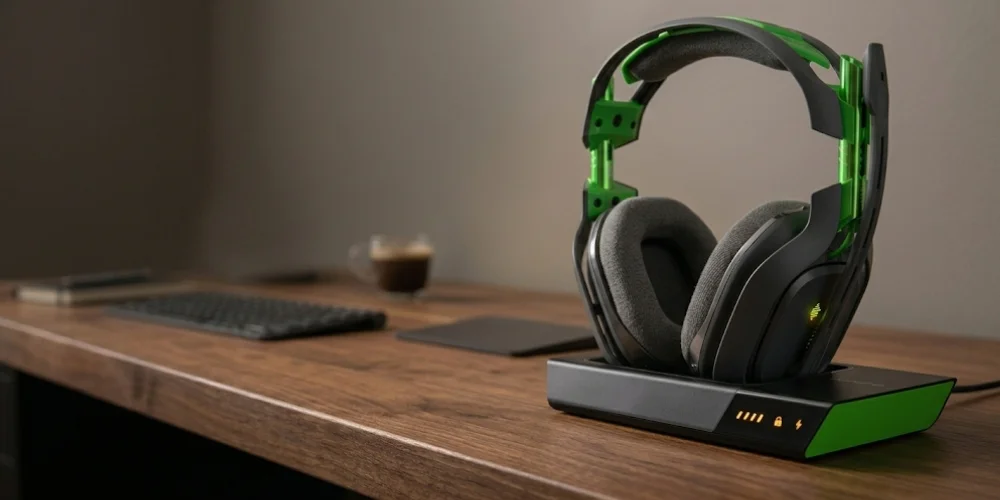
The first thing to do is to make sure that you have a strong headset. Place it on the station and observe the lights. These lights will show whether you are charging or not.
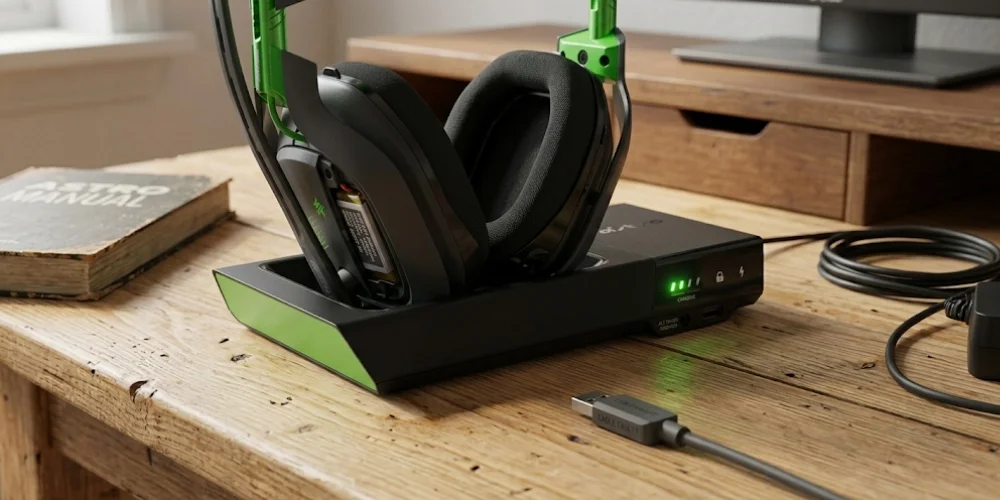
It is possible that the issue is not connected with any software issues unless there are indications of the same. This could be an errant cable, a damaged USB connection, or a battery that is depleted. Stress the need to make an alternative power supply to the base station. And also allow the headset a few minutes to charge up in case it was exhausted.
The faulty or damaged battery produces excessive spurious signals of the ineffective working, and therefore, the step is of paramount importance when you go through any of the Astro A50 reset steps.
Verify the Device Settings
Check the settings of your device. Many audio issues can be simply attributed to the wrongly chosen output device.
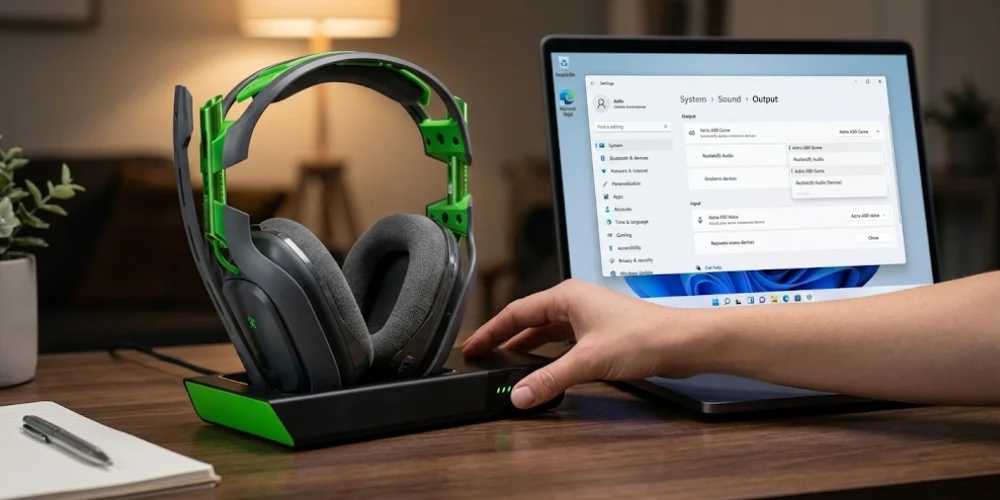
Select your system sound options and make sure that the Astro A50 is the input/output device. Your headset is observed to be plugged in, but you can hear no sound when another device is on.
Save Your Custom Settings
And one more thing before you reset: all your personal audio settings go away. This will have EQ settings and any custom sound settings that you had.
Upon resetting the Astro A50, it will start with the default. That means you would be forced to make alterations to your settings in case you had a sound preference. It is not such a big jump, but it may be used to avoid frustration in the future when everything will be different after the reset.
How to Reset Astro A50 Headset (Step-By-Step Guide)
These are transferred to the main part. It is an unchallenging task and must be carried out in the right way. Take it one step at a time to attain the best.
How to reset the Astro A50 headset is a principle that strives to refresh the internal system and leaves the hardware unchanged. Imagine that you are starting your computer.
Step 1 – Turn On Your Headset
Begin by turning on your headset. Ensure that it is mounted on the base station and wait until you observe some indications of charging. These lights will make sure that your headset is in and that there is power on.
To verify, press power button. When your headset is unresponsive, just give it some time to recharge and then try again. We also have a low battery which is capable of interrupting the action of resetting and leading to failure.
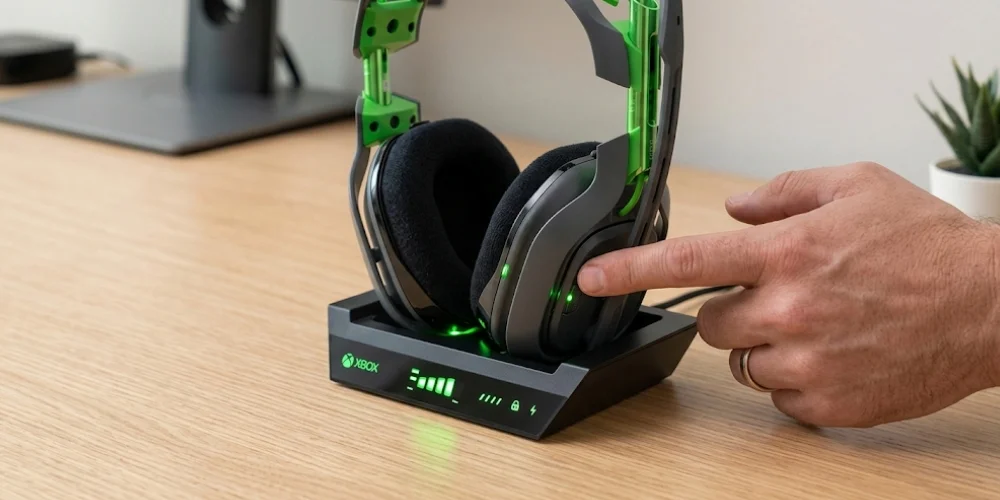
Step 2- Press Dolby and Game buttons.
And then there are Dolby and Game buttons on your headset. They are located on the ear cups. They are little, yet vital to the resetting process.
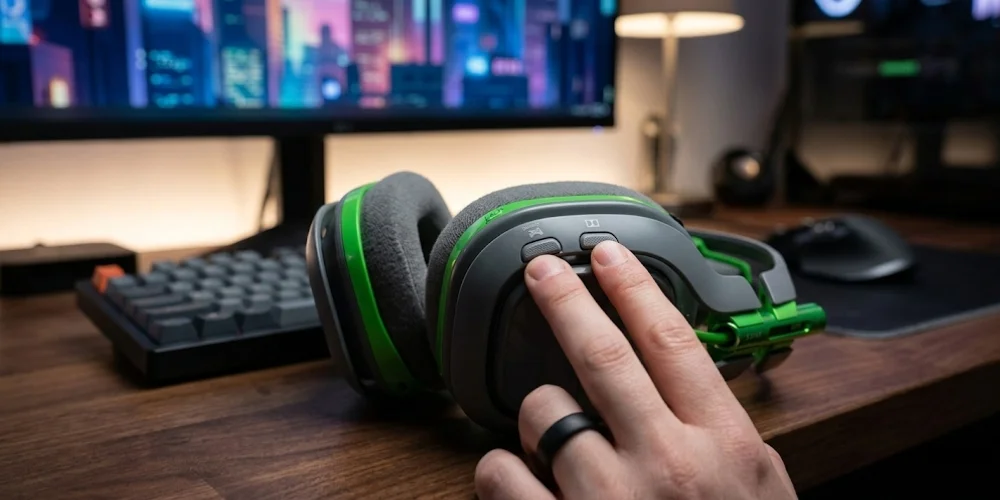
Stop and see them as such. False buttons will not dispense out the reset and hence, a lot of care should be taken in this case.
Step 3 – Press And Hold Both Buttons
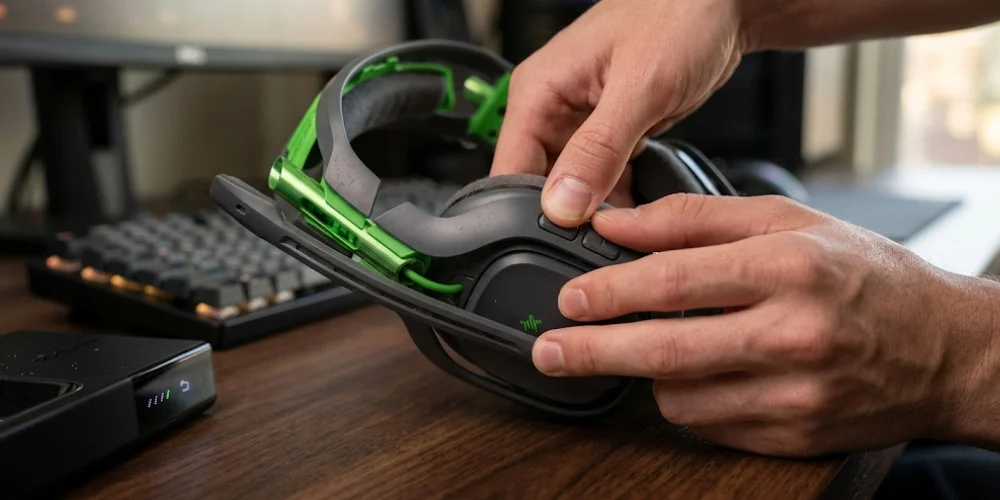
Now press the two buttons. No tapping; continuous pressure. A combination of the two buttons will restart the system to reset it. The process might not have a good start as you step them both.
Step 4 – Hold For 15–30 Seconds
This step requires patience. Keep pressing the buttons not less than 15 seconds. Do at least 30 seconds to get improved results. The transformations that happen to you in this period can be minor like flickering lights or non-responsiveness that is temporary. It is natural and it is also a sign that the system is self-rebooting. Do not set it free. It is one of the most frequent flaws of the greatest number of users and they think that the process is not working.
Step 5- Wait To Start.
After wearing your headset long enough, it will automatically switch off and restart. This re-reboot means that the Astro A50 has rebooted. You need not crowd any farther. All you need to do is wait and see the system through.
Step 6- Test headset.
Finally, test your headset. Audio, game, or voice chat. Check the sound of the microphone. Then you managed to do your reset in the event that everything went well. Problems may necessitate a reiteration of the process or a change in favour of firmware improvements.
The Hard Reset Procedure of the Astro A50 Headset (Gen 3 and 4)
The inability to correct the issue by a normal reset could require a deeper reset. A hard reset is required in case of more complicated system errors that cannot be resolved through a simple reset. The plan is the same but lower in the scheme.
The Dolby and Game buttons are usually pressed for 15 to 30 seconds to clear recalcitrant problems. This was found to be effective among a large number of users when the normal Astro A50 reset steps were unsuccessful.
Base Station: Reset Astro A50
The base station is another element of the system. An inserted headset may not fit in case of improper functioning.
The simplest and most logical solution is to disconnect the USB cable, wait for 20 seconds and reconnect. This revives the relationship and eliminates the temporary errors.
To upgrade or repair the system, they suggest a program such as Astro Command Centre in case of more serious issues.
What Happens When you Reset the Astro A50 Headset?
The reset restores your headset to factory-like settings.
Any custom sound schemes are automatically removed and system log is destroyed. The machine begins afresh and is now ready to operate indefinitely.
It does not do anything bad. It merely gets rid of the immediate issues that have been playing a role in the performance.
Troubleshooting and Maintenance
The Astro A50 headset has issues even after resetting, and probably, the issue is either software, connectivity, or charging. It can be rectified with the help of certain tests.
Firmware Updates
The problem with sound or microphones can be caused by old-fashioned firmware. Install and link the Open Astro Command Centre to your PC/Mac and update it in case of any updates. This helps in improving the performance and this prevents future troubles after a reset.
Connectivity Issues
A50 X model is not compatible with a different Y-cable and power adapter. Cables not produced by the manufacturer may not be in a state to generate constant power and hence lose contact following a reboot.
Charging Check
The headset may not be in place and the lights of the base station are not blinking. This will involve reversing the process and putting it back on the dock, so that the charging pins are oriented correctly. This gives the appropriate charge and uniformity.
Compatibility Test of Equipment.
It is not the headset; at times, it is your computer. Make sure that Astro A50 is compatible with PC or console. The other gadget will be used in cases where the problems cannot be resolved even after the Astro A50 headset has been rebooted.
Common Mistakes When you Reset Astro A50 Headset
Most users fail the reset as a result of releasing the buttons too soon or failing to use the right combinations of buttons. In case the battery is inadequate, others will reset.
These are only some of the pitfalls that should be avoided in order to make the Astro A50 reset process a success.
Conclusion
Headset problems are stressful, particularly during a game or at work. Most of the problems though, are not serious.
Among the things that you can easily correct, some of the common errors without necessarily spending some money and even changing the device are by knowing how to reset the Astro A50 headset.
Frequently Asked Questions — Astro A50 Reset
Learn how to reset Astro A50 headset quickly. Fix sound, mic, and connection issues easily with this simple step-by-step guide.
No comments yet. Be the first to comment!
Leave a ReplyYour email address will not be published. Required fields are marked *